I'm in the middle of a couple great food projects this week, so make sure you stay tuned for some really fun and colorful desserts. :)
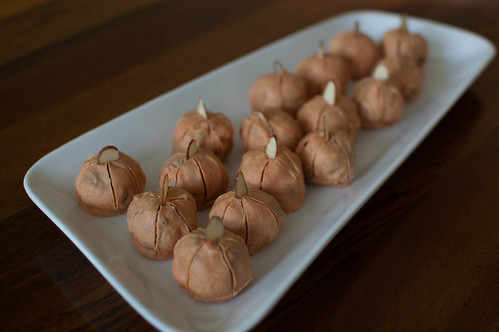
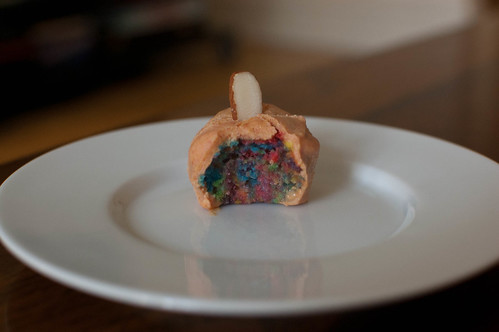
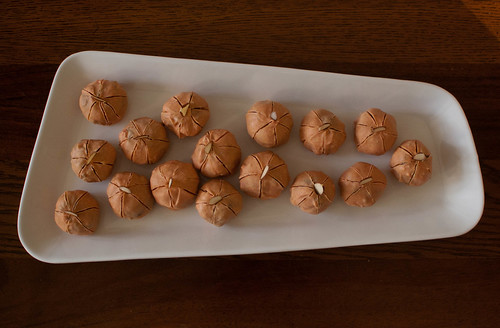
In the meantime, these Halloween Cake Balls were created out of a few of my project leftovers, and I think they turned out quite cute!
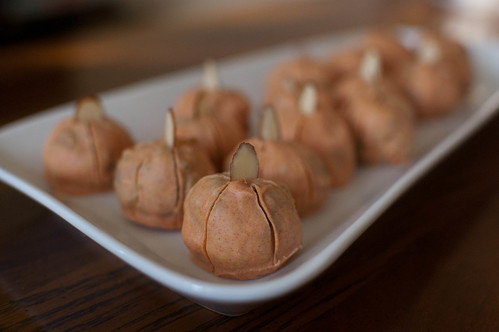
Hope you have a great Halloween filled with yummy candy and adorable trick-or-treaters!
Halloween Cake Balls
I used cake scraps and leftover cream cheese frosting for my recipe; this is what I think you'd need to make your own full recipe at home:
One batch of your favorite cake recipe (mine coming later this week)
One batch of your favorite frosting recipe (mine coming later this week)
1 pound of white chocolate
Orange (or red and yellow) gel food coloring
Slivered almonds
Makes about 48 cake balls
*Note: You could always use cake mix from a box and frosting from a can if you're in a hurry. Just pretend I didn't tell you that. You could also half the recipe if you don't want 48 cake balls. My scraps made about 24 and it seemed like just the right amount.
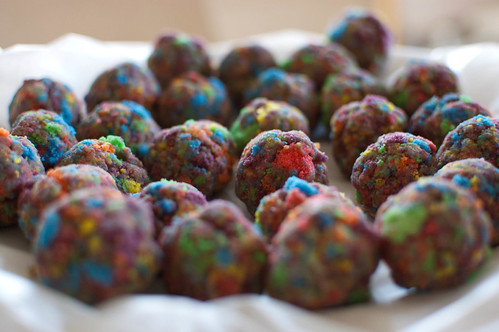
Step 1: Bake a batch of your favorite cake recipe and let cool. (Why rainbow? Stay tuned.)
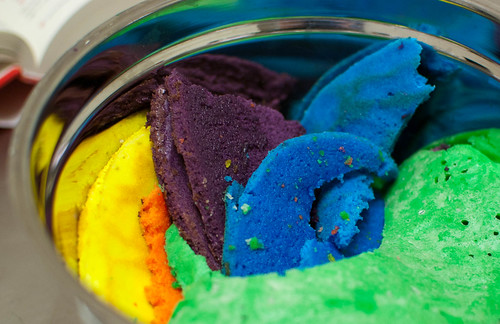
Step 2: Once cooled, break up cake into tiny pieces with two forks.
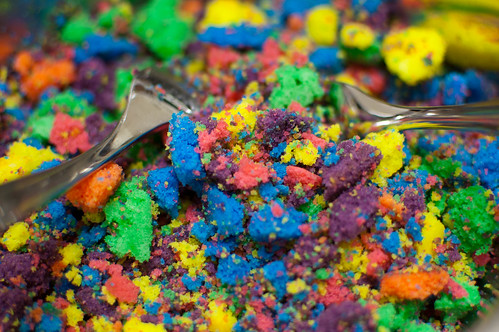
Step 3: Mix your favorite basic frosting into the cake pieces (I used a few big spoonfuls of some cream cheese frosting that I had already made--again, I will explain soon) until frosting is completely combined and cake is moist and sticky. I realize this looks pretty disgusting, but just trust me. It will be heavenly.
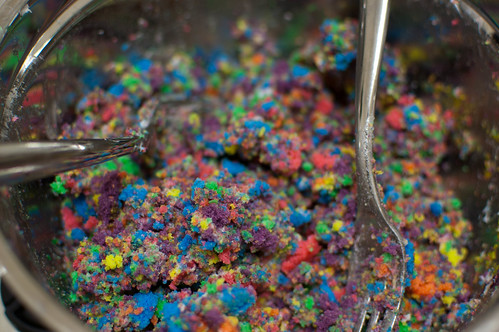
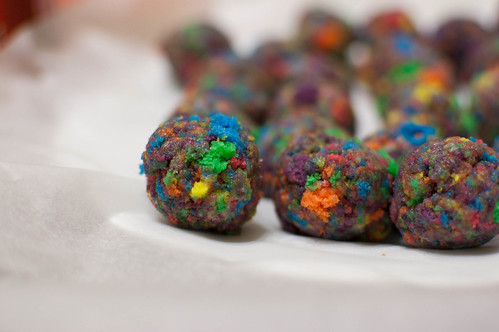
Step 4: Roll a small scoop of cake mixture into a ball and place onto a baking sheet lined with parchment paper. Continue with the rest of the mixture. Put cake balls into the freezer for at least one hour to make sure cake pieces don't fall off in the next step.
Step 5: Melt white chocolate in a double boiler. Add a few drops of orange food coloring and mix until entire batch is to your desired color. Carefully dip one cake ball at a time into the melted chocolate and coat all sides. Place on the lined baking sheet and continue until all cake balls are coated. Place in the refrigerator until mostly cooled.
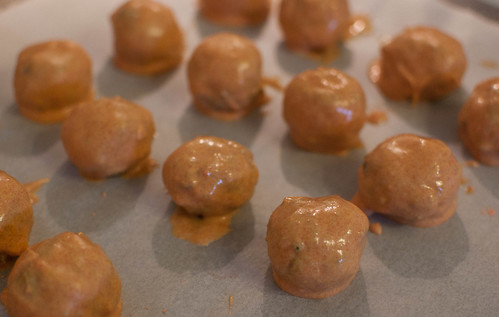
Step 6: Remove cake balls from refrigerator and using a toothpick, carefully draw lines in the frosting to resemble the creases in a pumpkin. Get a new toothpick every few cake balls to ensure clean lines. If you're really picky like I am, cut the excess frosting off around the bottom of each cake ball to make sure each ball is nice and round. Place a slivered almond in the top to look like a stem, and then serve on your best white plate!
