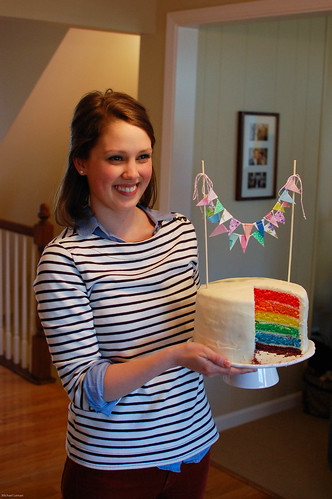
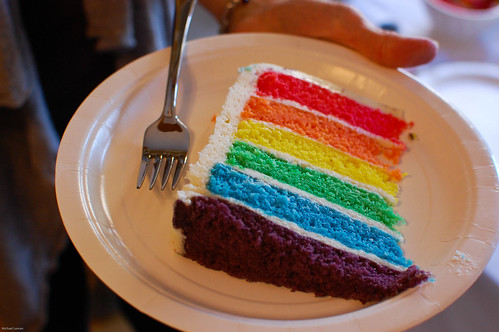
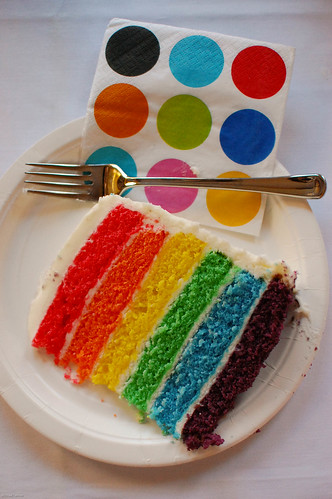
I did it! I made a rainbow cake!
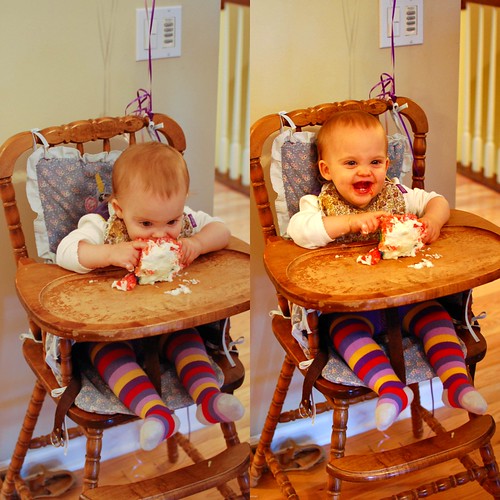
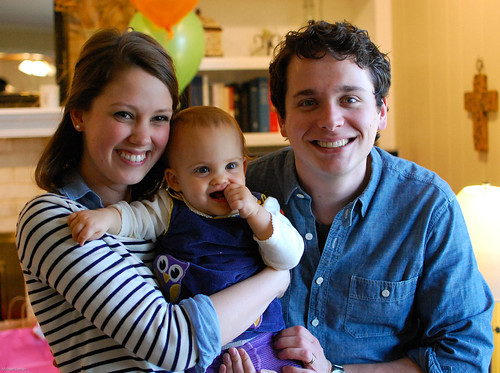
It was made with love for my niece's first birthday party this past weekend, which was absolutely adorable and rainbow-themed and full of adults and kids alike. Can I just tell you that I'm pretty proud of myself? This thing took quite some time to put together, and I am so pleased with how it turned out. Happy 1st birthday, Eleanor!
I'm about to share the recipe with you, but I want to give you a warning first: this recipe is no joke. Just be prepared for some good quality time in your kitchen. If you're a pro at cake baking, then you should have no problem; I, on the other hand, had never baked a six-layer cake before. Keep that in mind.
First, a few notes before you start:
1. Take out your eggs, milk, and butter a few hours ahead of time to let them come to room temperature.
2. I made the cake on Thursday, wrapped each layer in plastic wrap once they had cooled, and left them on the counter overnight. I put the cake together and frosted it on Friday when I got home from school, put it in the fridge for 10 minutes to let the frosting set, then carefully wrapped it in plastic wrap and put it back in the fridge. We ate it Saturday afternoon and it was amazing. Moral of the story: if you wrap it, it will stay moist and delicious.
3. If you can remember, weigh your mixing bowl before you start. This number will come in handy when you're trying to divide the batter into 6 bowls to dye.
4. Get a large icing spatula if you don't already have one. Trust me.
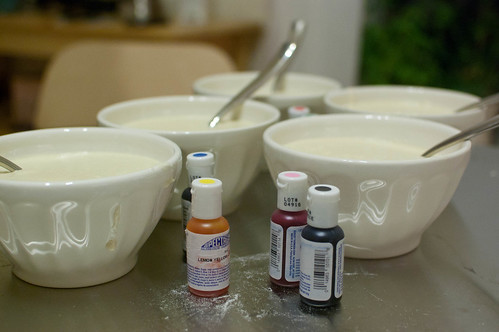
5. Also make sure to get gel food coloring, not liquid.
6. I never said this cake was good for you; don't say I didn't warn you!!
To bake this Rainbow Cake, you will need:
Stand mixer with whisk and paddle attachments (or a hand mixer)
Three 9-inch cake pans
Parchment/wax paper
Food scale
Nonstick cooking spray
6 smaller bowls for dying batter
To frost this Rainbow Cake, you will need:
Cake serving plate
Large icing spatula
Turn table or something flat that spins (rotating cake plate works too)
Cup of hot water
Patience
The Best White Cake
Adapted from Epicurious
Makes about 24 servings
4 1/2 cups (18 ounces) cake flour, plus more for dusting the pans
2 cups whole milk, at room temperature
12 large egg whites, at room temperature
2 teaspoons almond extract
2 1/2 teaspoons vanilla extract
3 1/2 cups (24 1/2 ounces) sugar
8 teaspoons baking powder
2 teaspoons table salt
24 tablespoons (3 sticks) unsalted butter, softened but still cool
Red, yellow, and blue gel food coloring
Preheat oven to 350 degrees and place the oven rack in the middle slot. Spray your three 9-inch cake pans with cooking spray and line the bottoms with parchment paper rounds. Spray rounds and add flour to the bottom, shaking back and forth to cover entire surface. Turn cake pan upside down over the sink and hit the edges to get rid of excess flour.
Crack egg whites into a bowl. Add milk and extracts, then blend with a fork. Put cake flour, sugar, baking powder, and salt into mixer and mix at slow speed until combined. Add butter and beat until the mixture looks like small moist crumbs. Add all but 1 cup of milk mixture and beat at medium speed for 1 1/2 minutes. Add last cup of milk mixture and beat for 30 more seconds. Scrape sides of bowl and mix for 10 seconds.
Here's where things get a little crazy. If you followed my suggestion above and measured your mixing bowl ahead of time, all you need to do is place the mixing bowl with the batter in it onto the food scale and subtract the weight of the empty bowl to get the weight of just the batter. Divide by six, and measure that amount into each small bowl for dying. Easy!
If you didn't (it's ok, I didn't either), you'll have to do a little guessing. My Kitchen Aid mixing bowl weighs 28 1/8 ounces, so if you're using the same one it's probably pretty close to that. Divide the weight of the mixing bowl and batter by six, and then subtract a few ounces for good measure. If I remember my math correctly, we put about 14 ounces of batter into each bowl. Do the best you can to get the same amount of batter into each bowl; that will ensure that your layers are all even and pretty!
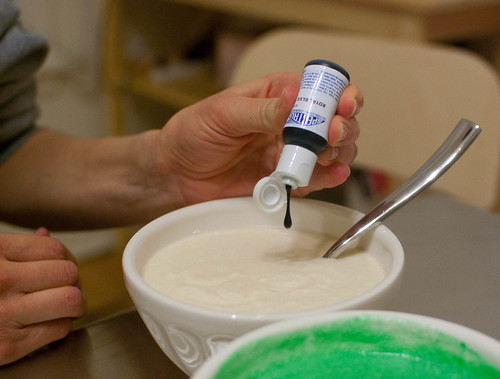
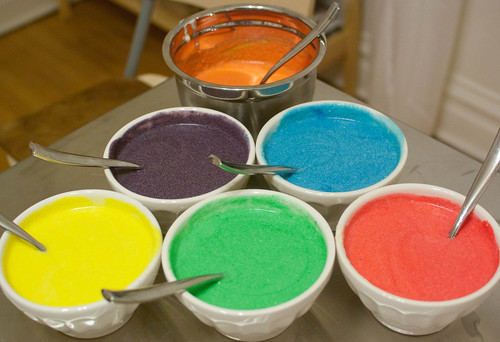
Make sure you're using gel food coloring to dye your batter. Add one drop of coloring to batter, mix, and add more if necessary. Experiment carefully with your ratios when mixing two primary colors to make secondary colors (I liked my orange the best--2 drops of yellow and 1 drop of red). Also be careful not to over-mix batter when adding dye.
Pour purple, blue, and green into prepared cake pans and smooth tops with a spatula. Arrange pans in triangle-formation in the oven and make sure to rotate every 5 minutes. Bake for about 15 minutes or until toothpick in the center comes clean. (Alert: one of my layers finished before the other two; make sure you check them carefully!)
Let cake rest in pans for 3 minutes, then take a knife and cut around the edges to loosen. Slowly invert onto cooling racks and let cool completely before frosting, about 1 1/2 hours. Flip parchment rounds inside cake pans over, spray and flour again, then repeat baking steps with red, orange, and yellow cake batter. Again, let cool completely before frosting.
The Best Cream Cheese Frosting
I'm really sad to say that this recipe was tripled. Ugh, that's a lot of frosting. So you don't have to make three separate batches like I did, make 2x the recipe to start and then use the last batch for the "final frosting" (you'll want a clean and crumb-less last batch anyway).
6 ounces of cream cheese, at room temperature
1 cup (2 sticks) of unsalted butter, softened
4 cups of powdered sugar
2 teaspoons vanilla extract
Mix together cream cheese and butter at medium speed with the paddle attachment. Slowly add in powdered sugar, stopping to scrape down sides about every cup or so. Once all powdered sugar is incorporated, add vanilla and mix again until completely combined.
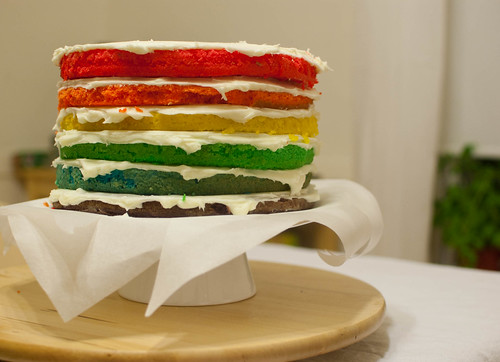
Place purple cake layer top down onto the cake plate (this leaves the flatter side facing up). Spoon a large blob of frosting on the top and carefully push frosting to the edges, covering entire layer. Don't worry about getting cake crumbs into the frosting; they will not be noticeable when you cut into it later. To level frosting, place icing spatula at 45 degrees to the cake and press down lightly while rotating cake plate. If you're not using a rotating surface, place spatula at 45 degrees and slowly slide toward you until even. Repeat with blue layer, then green, yellow, orange, and red. Place layers on top of each other slowly and steadily!
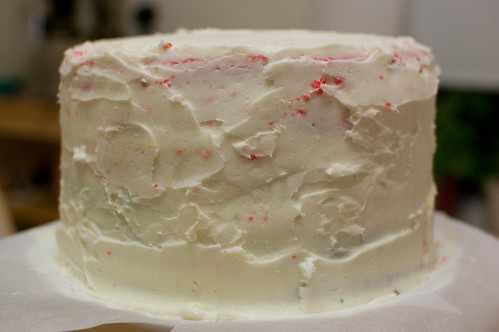
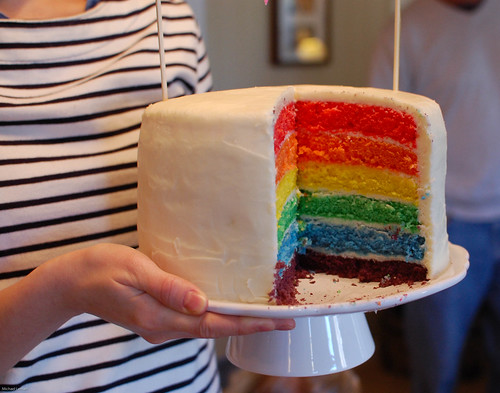
When icing the top of the red layer, keep frosting thin and don't worry about crumbs showing through. For the sides, get a large blob of icing on the tip of your spatula and hold perpendicular to the cake. Gently frost with short side-to-side strokes, covering all the way around. Again, don't worry about crumbs. (Mine above looks totally ugly, right? I had a minor freak-out thinking it would end up looking terrible but it didn't, no worries). Refrigerate cake for 10 minutes to set frosting.
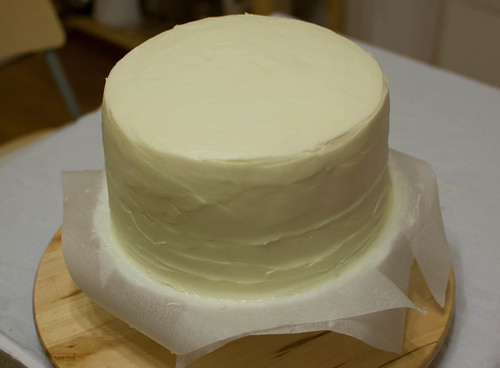
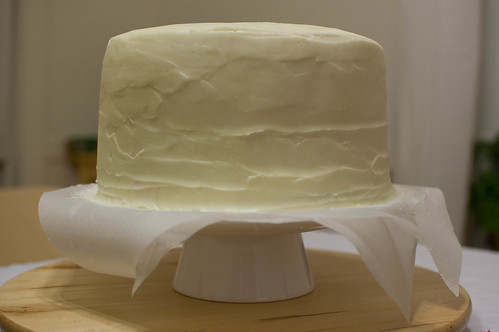
Make last batch of frosting while you wait for cake in the fridge. Once frosting is set, add a final layer of clean frosting to top and sides, being sure to keep frosting even and smooth. To erase lines, dip spatula into a cup of hot water, place spatula at an angle, and gently turn cake plate around. Clean up edges of cake plate with a wet paper towel.
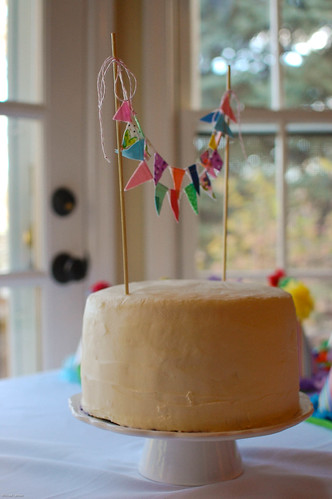
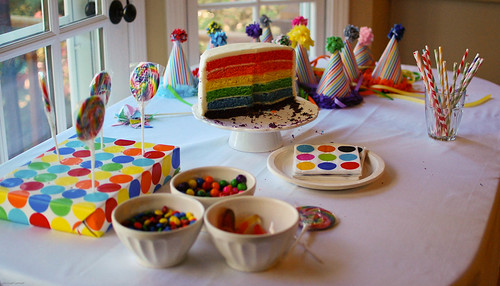
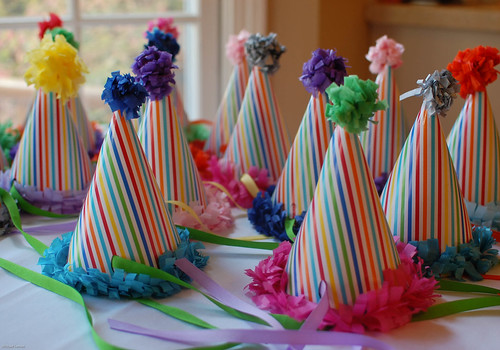
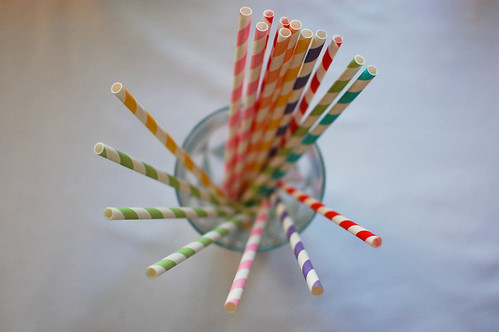
Serve with adorable bunting and colorful napkins and watch the crowd (or the baby) go wild! :)